Melted Chocolate and Hazelnut Bliss – Pin Your Pin
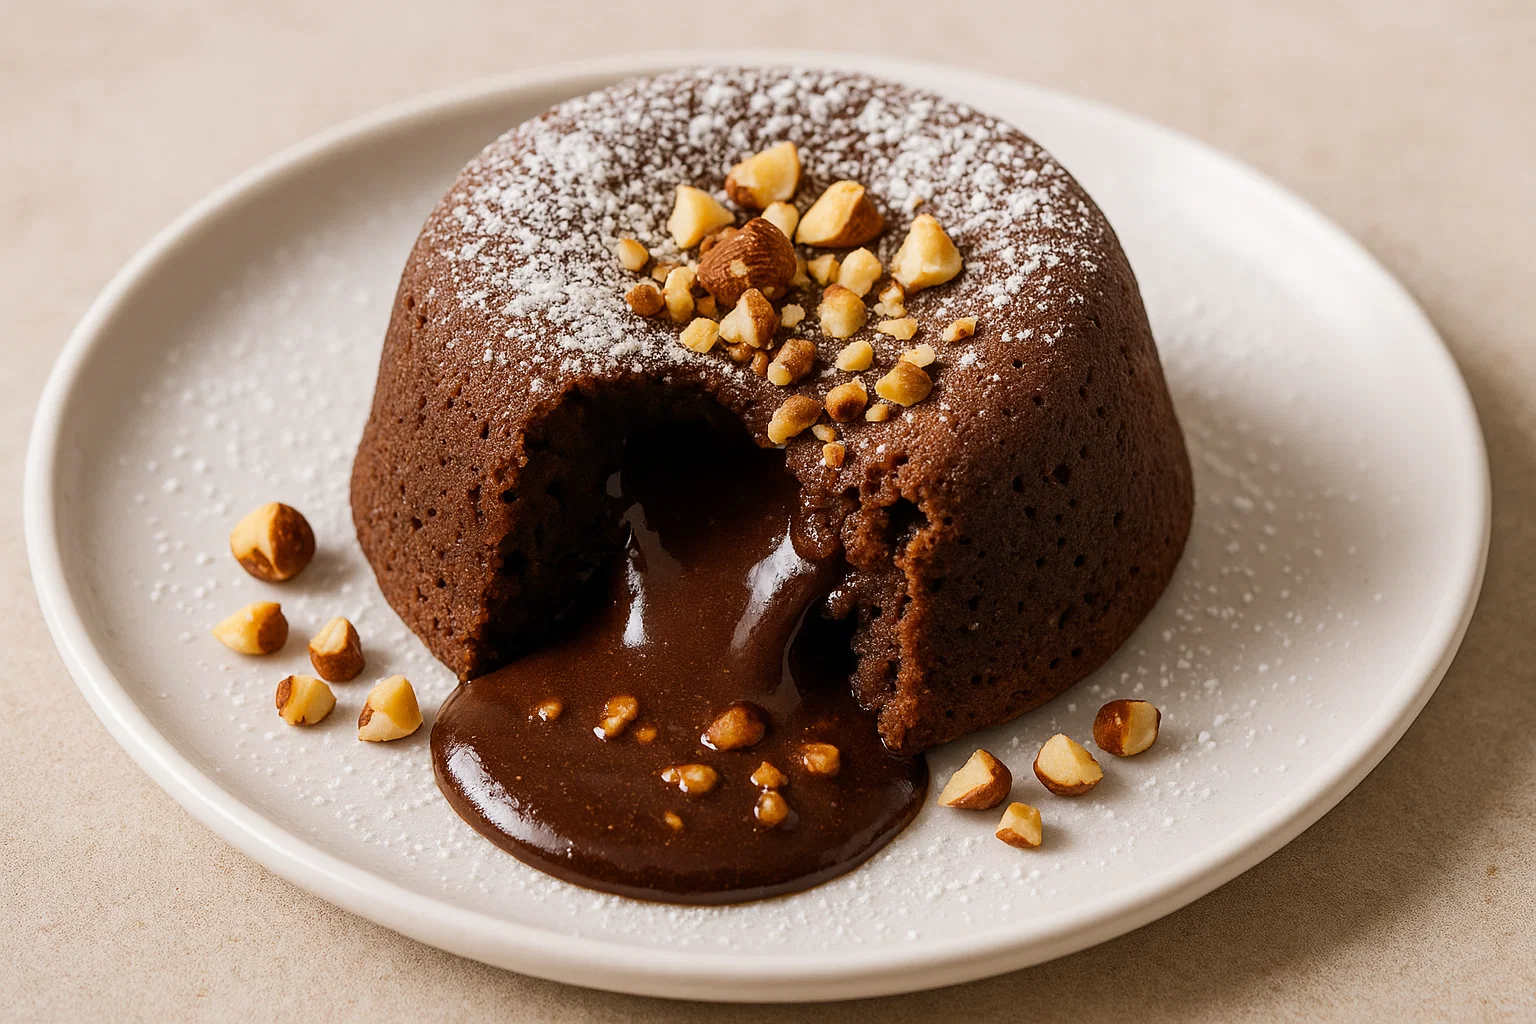
Do you crave that perfect balance of crunchy, gooey and nutty in one bite? The combination of melted chocolate and crunchy hazelnuts is one of life’s greatest pleasures. Whether you’re treating yourself after a long day or entertaining friends for dinner, this Chocolate and hazelnut melted happiness will surely steal the show. It’s the kind of dessert that makes you feel like you’re in a high-end cafe, but with the comfort of homemade goodness.
Let’s dive in and create this magical dessert together. Trust me, it’s easier than you think!
Why hazelnut and melted chocolate happiness is a must-have
We’ve all had those moments when we just need something warm, gooey and sweet, right? I’ll be honest, there’s something irresistible about biting into a dessert that’s soft on the outside and liquid chocolate on the inside. Add crunchy hazelnuts, and it’s an explosion of flavors! But here’s the thing: creating such a dessert doesn’t have to be complicated. With the right ingredients and a little patience, you will have yours Chocolate and hazelnut melted happiness ready to serve in no time.
Ingredients you will need
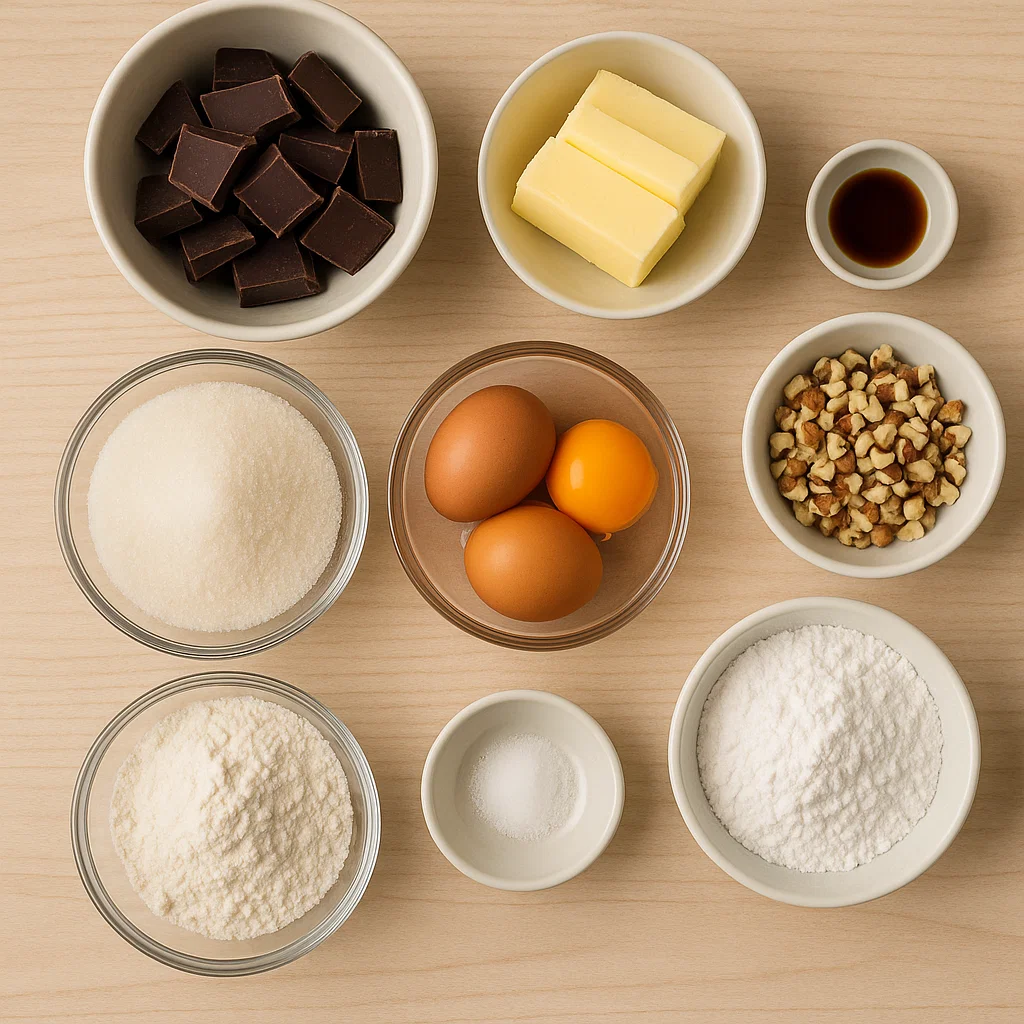
Before we begin, let’s make sure you have everything on hand. You won’t need to go hunting for ingredients: these are simple, everyday products, but the results are pure magic.
- 4 oz (115 g) high quality dark chocolate
- 1/2 cup (115 g) unsalted butter
- 2/3 cup (130 g) sugar
- 2 large eggs
- 2 egg yolks
- 1 teaspoon of vanilla extract
- 1/4 cup (30 g) all-purpose flour
- 1/4 cup (30 g) chopped hazelnuts
- Pinch of salt
- Powdered sugar (for sprinkling)
Step by step: prepare melted chocolate and hazelnut happiness
Step 1: Preheat the oven and prepare the ramekins
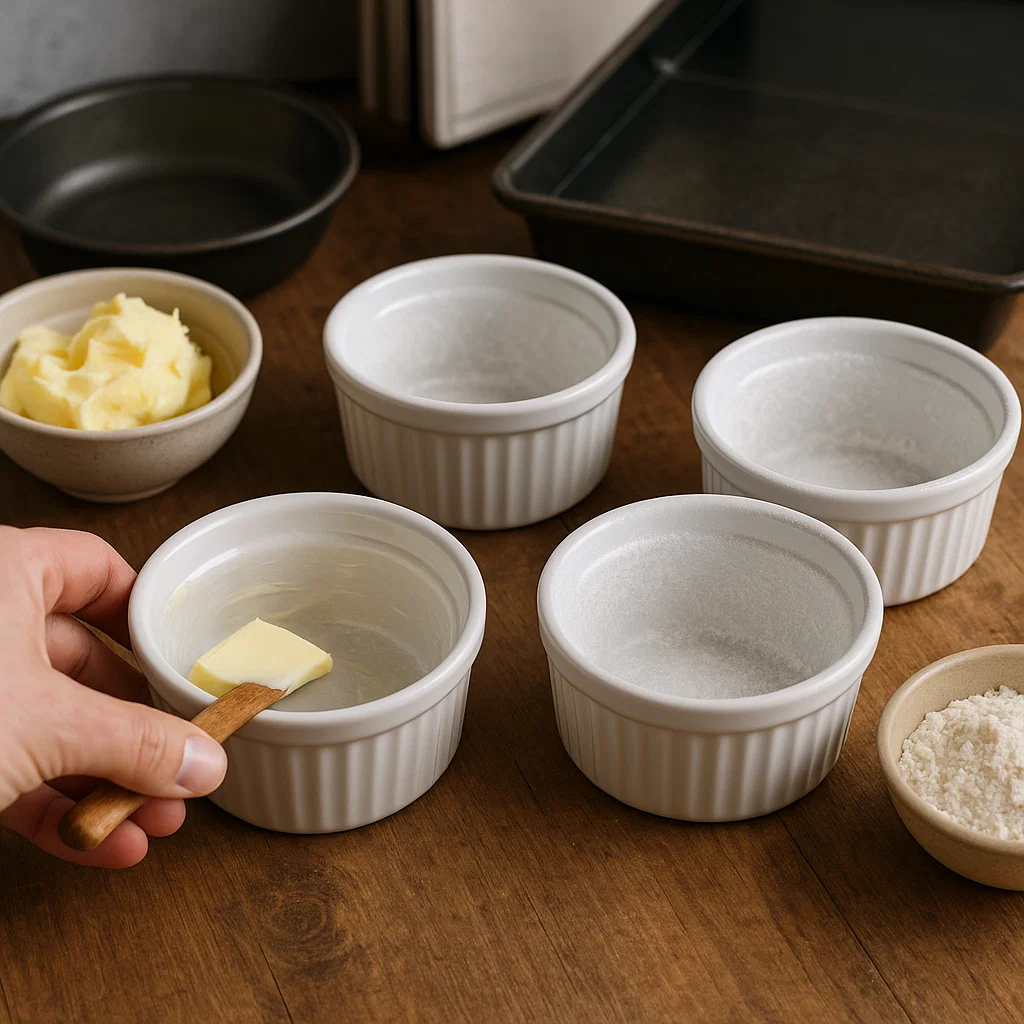
Start by preheating your oven to 425°F (220°C). Then butter 4 ramekins and dust them lightly with flour (or cocoa powder for an extra chocolate touch). This will help the dessert slide easily once cooked. If you don’t have ramekins, you can use muffin tins as an alternative!
Step 2: Melt the chocolate and butter
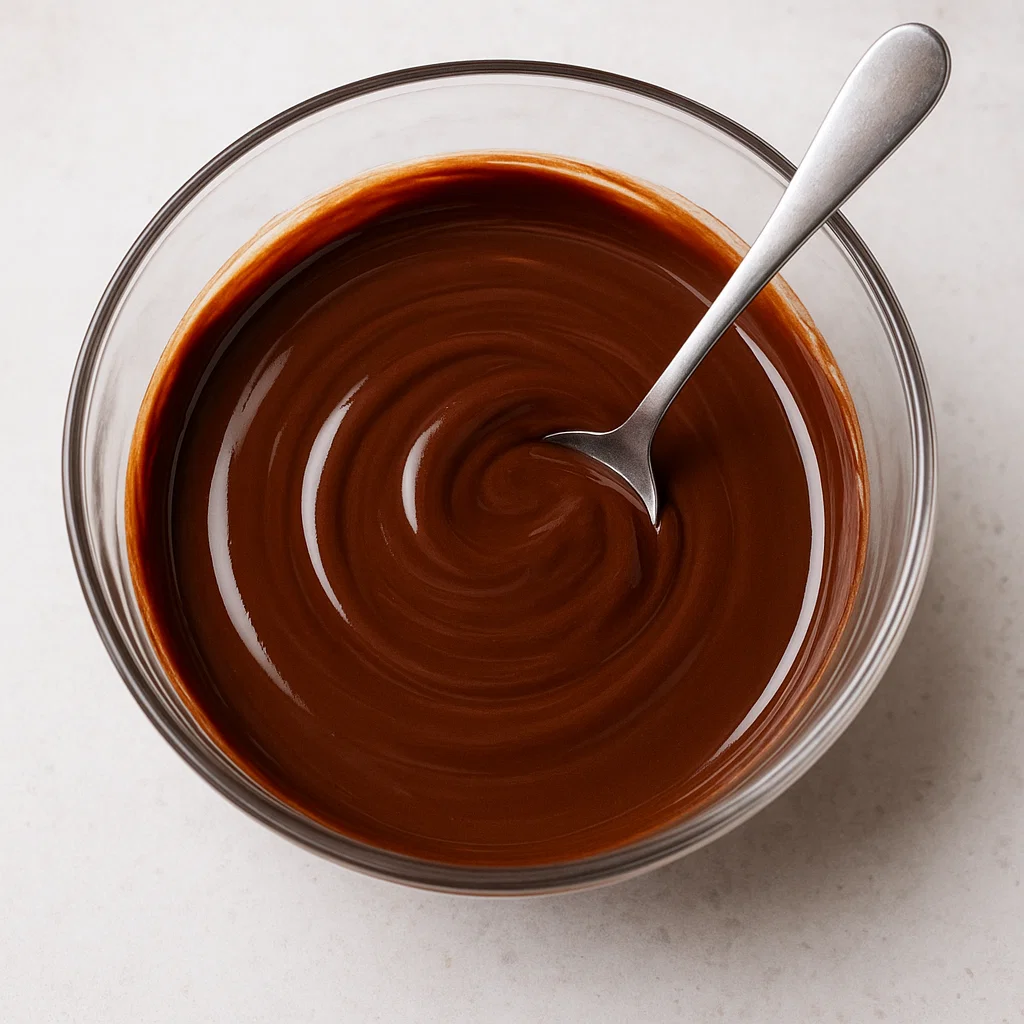
Place the chocolate And butter in a microwave-safe bowl. Microwave in short bursts (20 seconds at a time) and stir in between. Continue until both ingredients are completely melted and combined. The mixture should be smooth and shiny.
Step 3: Mix eggs and sugar
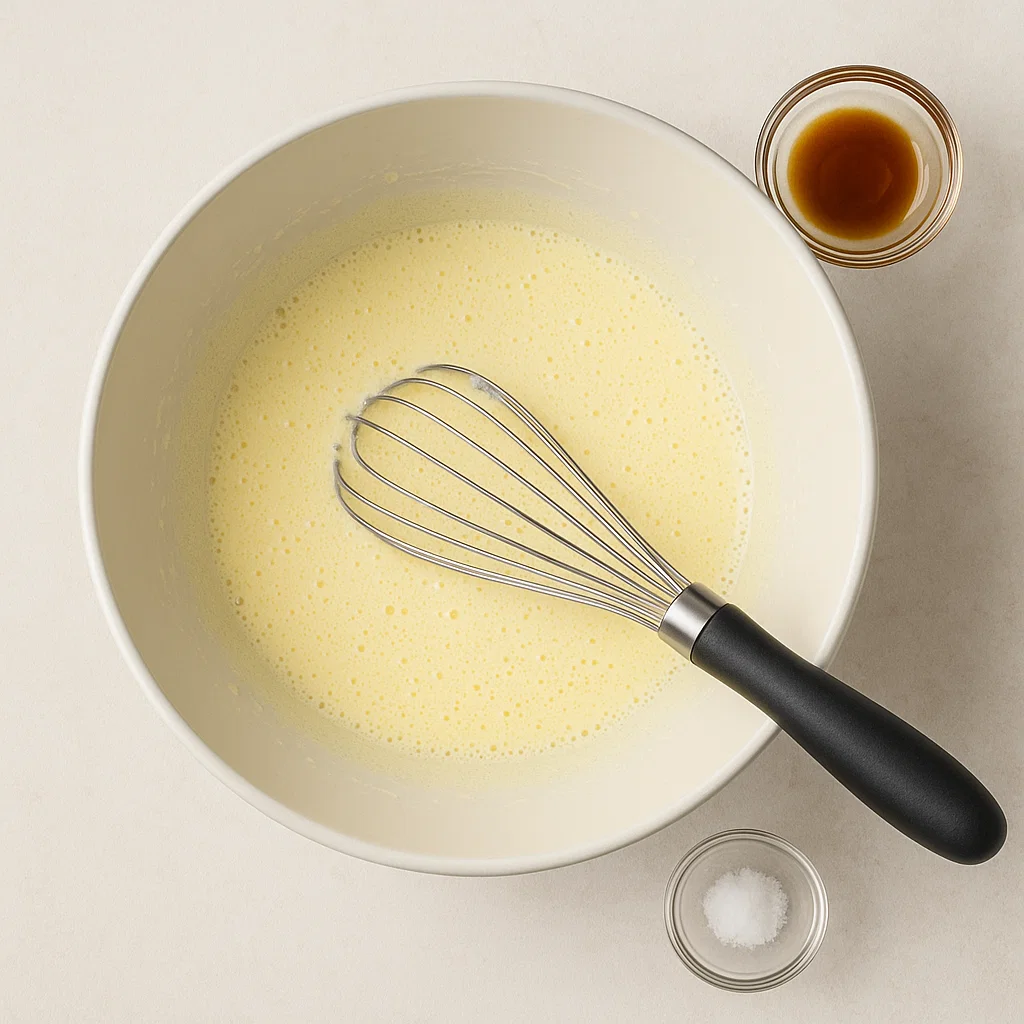
In another bowl, whisk together the eggs, egg yolksAnd sugar until the mixture becomes pale and slightly foamy. You can use a hand whisk or stand mixer for this. Once ready, add the vanilla extract And a pinch of salt.
Step 4: Combine wet ingredients with dry ingredients

Pour the melted chocolate and butter mixture into the egg mixture, stirring gently until well combined. Then, sieve the flour and blend it until smooth. The dough should be thick, shiny and absolutely mouth-watering.
Step 5: Add hazelnuts for crunch
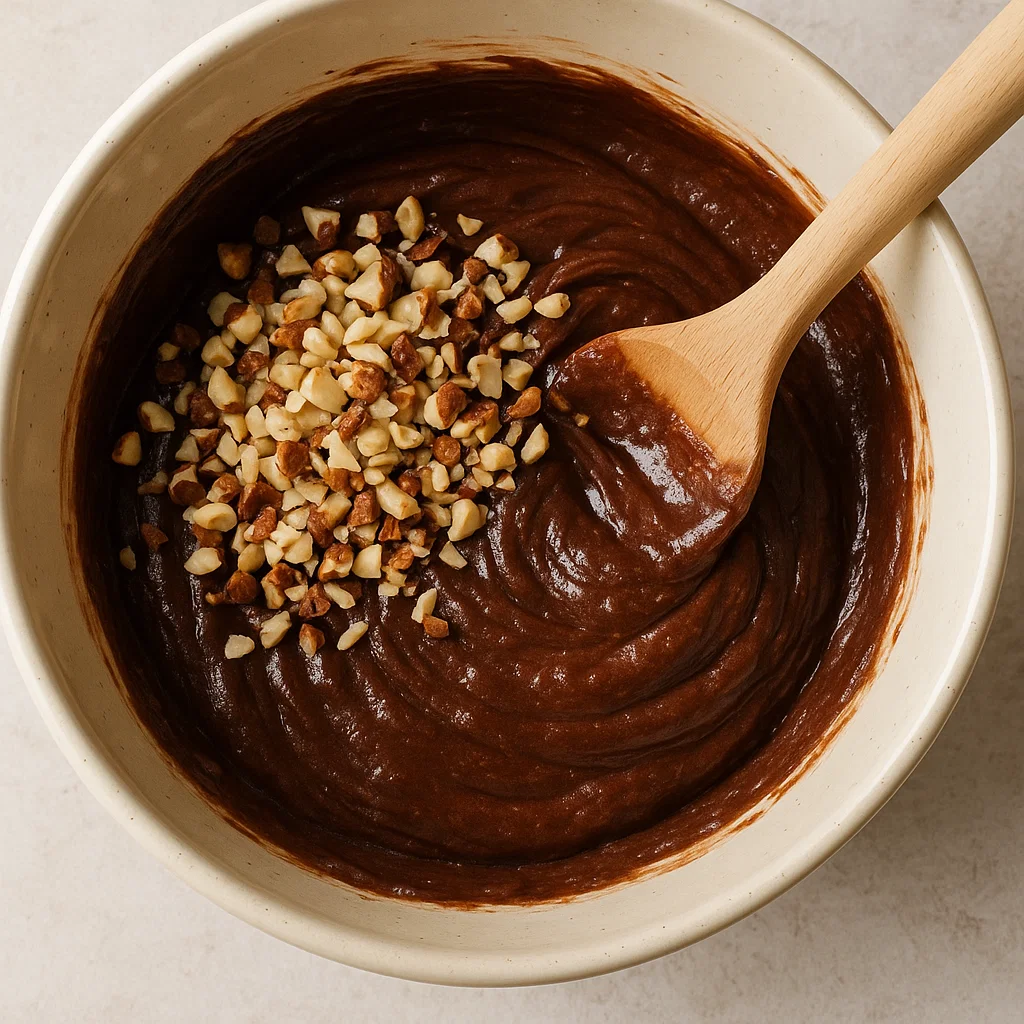
Now comes the fun part: adding crushed hazelnuts! Gently incorporate them into the dough. These nuts will add a delicious crunch to your melted chocolate center and give the dessert an extra layer of flavor.
Step 6: Fill the ramekins
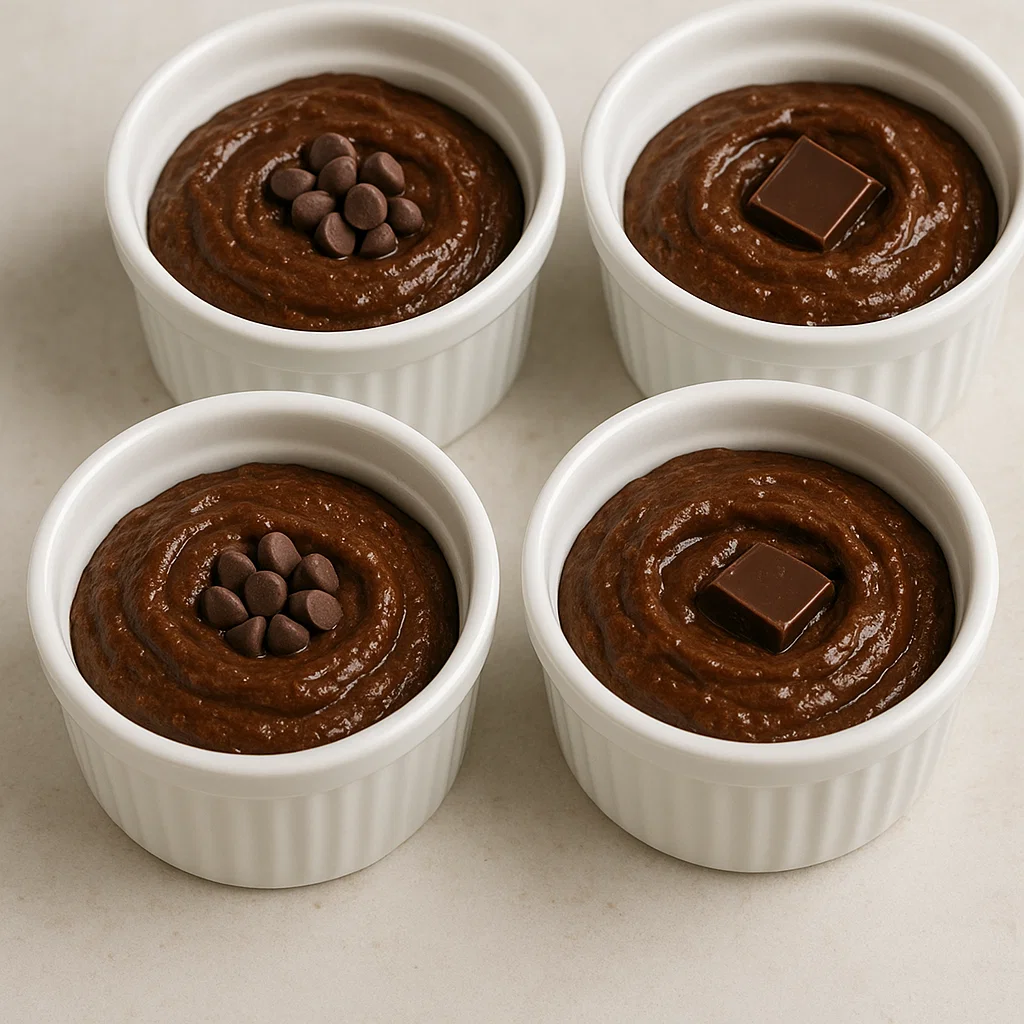
Divide the batter evenly among the prepared ramekins, leaving some room at the top for expansion. If you want an even more decadent surprise, you can place a few extra chocolate chips or a small piece of chocolate in the center of the dough before baking.
Step 7: Bake to Perfection
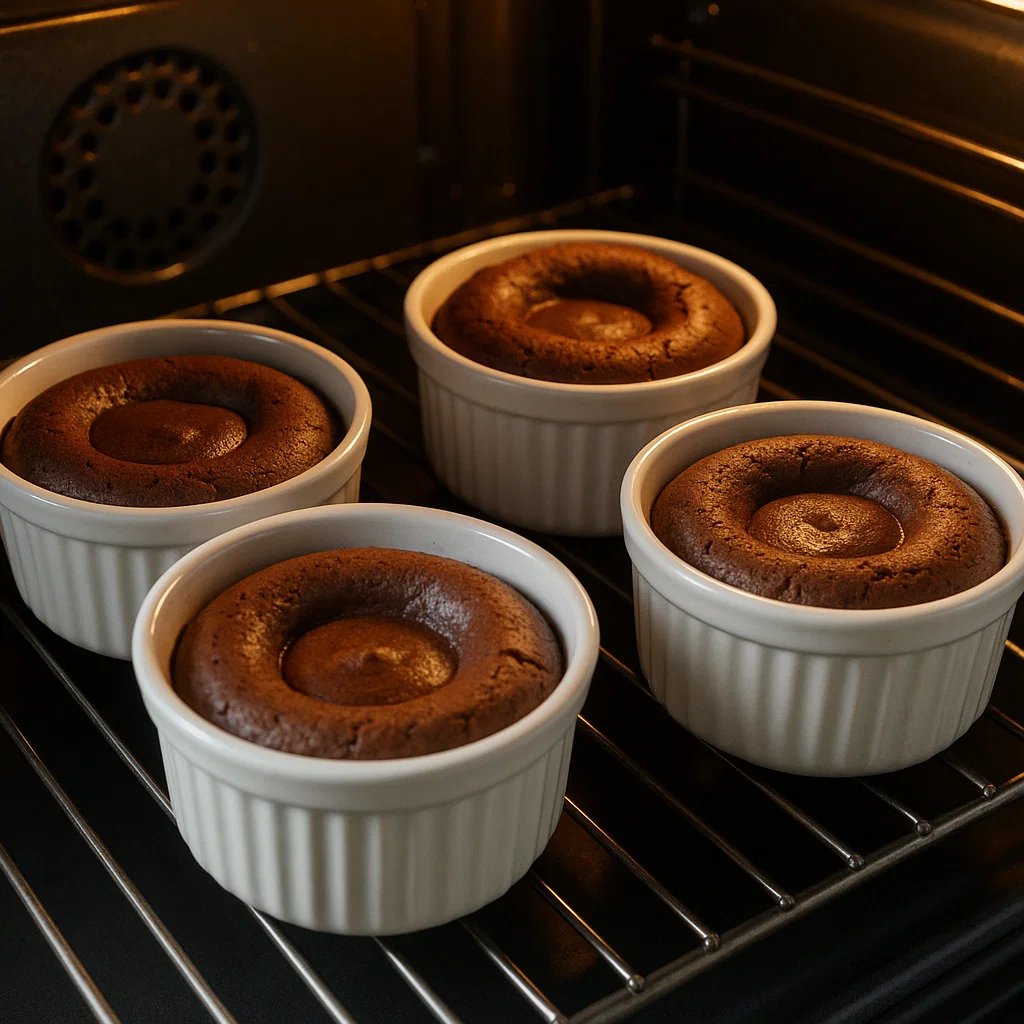
Place the ramekins in the preheated oven and bake for 12-14 minutes. The edges should be firm, but the center will still feel a little soft. Don’t overcook, because the melted center is the star of this dessert!
Step 8: Serve and enjoy
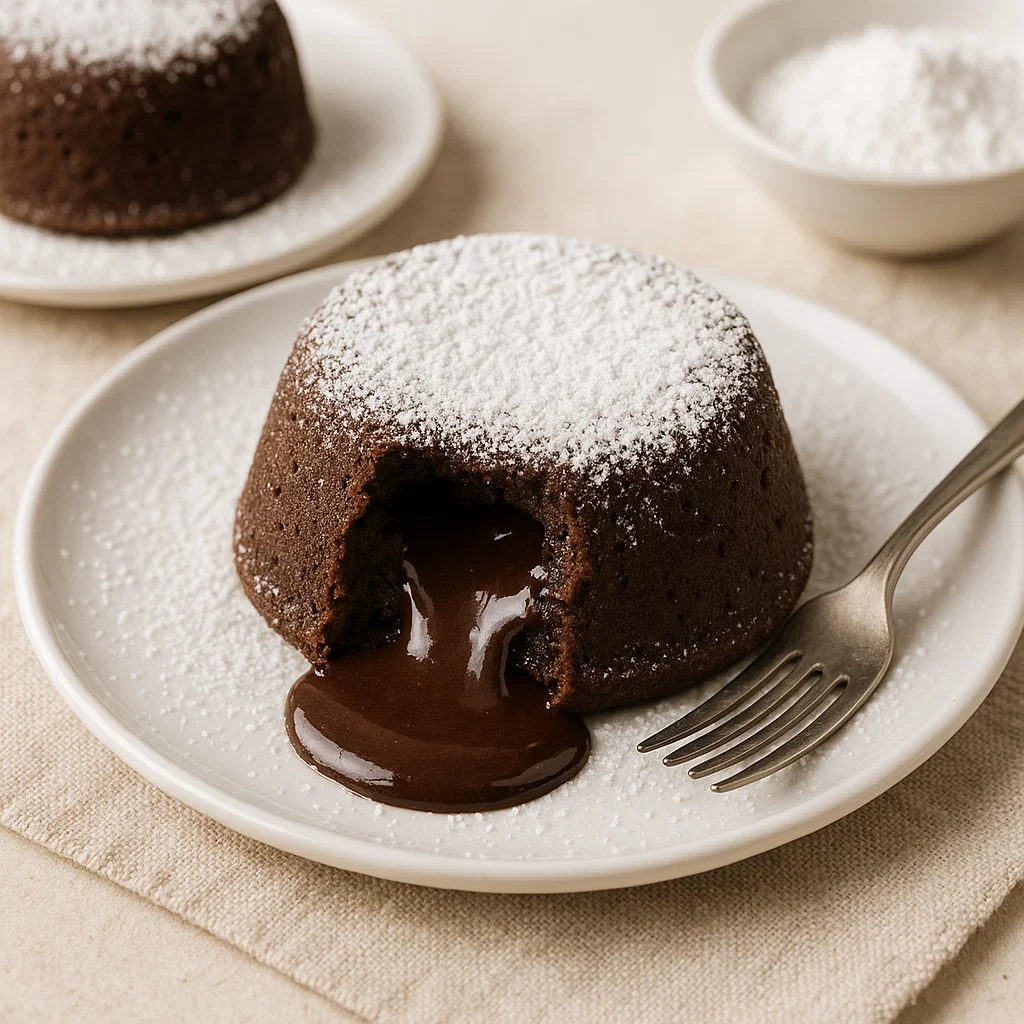
Let desserts sit 1 to 2 minutes after cooking. Then, carefully run a knife around the edges of the ramekins and invert them onto plates. Dust with Powdered sugar for a beautiful finish, and you’re ready to serve your delicious melted chocolate masterpiece!
FAQ: everything you need to know
Q1: Can I make Molten Chocolate Hazelnut Bliss in advance?
Yes! You can prepare the dough in the ramekins and refrigerate it up to 24 hours before baking. Just be sure to cook it fresh when you’re ready to serve.
Q2: Can I substitute other nuts for hazelnuts?
Absolutely! You can use almonds, walnuts or even pistachios if you prefer. Each nut will add its own unique flavor to the dish.
Q3: Can I make this dessert gluten-free?
Yes, you can. Simply replace the all-purpose flour with a gluten-free flour blend, and voila!
Q4: How do I know when dessert is ready?
The key is to watch the edges. The center should still feel slightly soft and wobbly, while the outer edges should be firm. This means you have the perfect center melt!
Conclusion: Treat yourself to melted chocolate and hazelnut happiness
In conclusion, Chocolate and hazelnut melted happiness is not just a dessert – it is an experience. The combination of melted chocolate, warm hazelnuts, and soft, slightly crunchy exterior will stay with you long after the last bite. Whether you enjoy it alone or share it with loved ones, this treat is truly a crowd-pleaser.
So, what are you waiting for? Gather your ingredients, preheat that oven, and savor the magic of chocolate and hazelnuts in every bite. Your taste buds will thank you!
Pro tip: If you’re feeling adventurous, pair this gooey dessert with a scoop of vanilla ice cream or a drizzle of caramel sauce for an even more indulgent treat!

Post Comment